Give damaged clothes a place outside your wardrobe
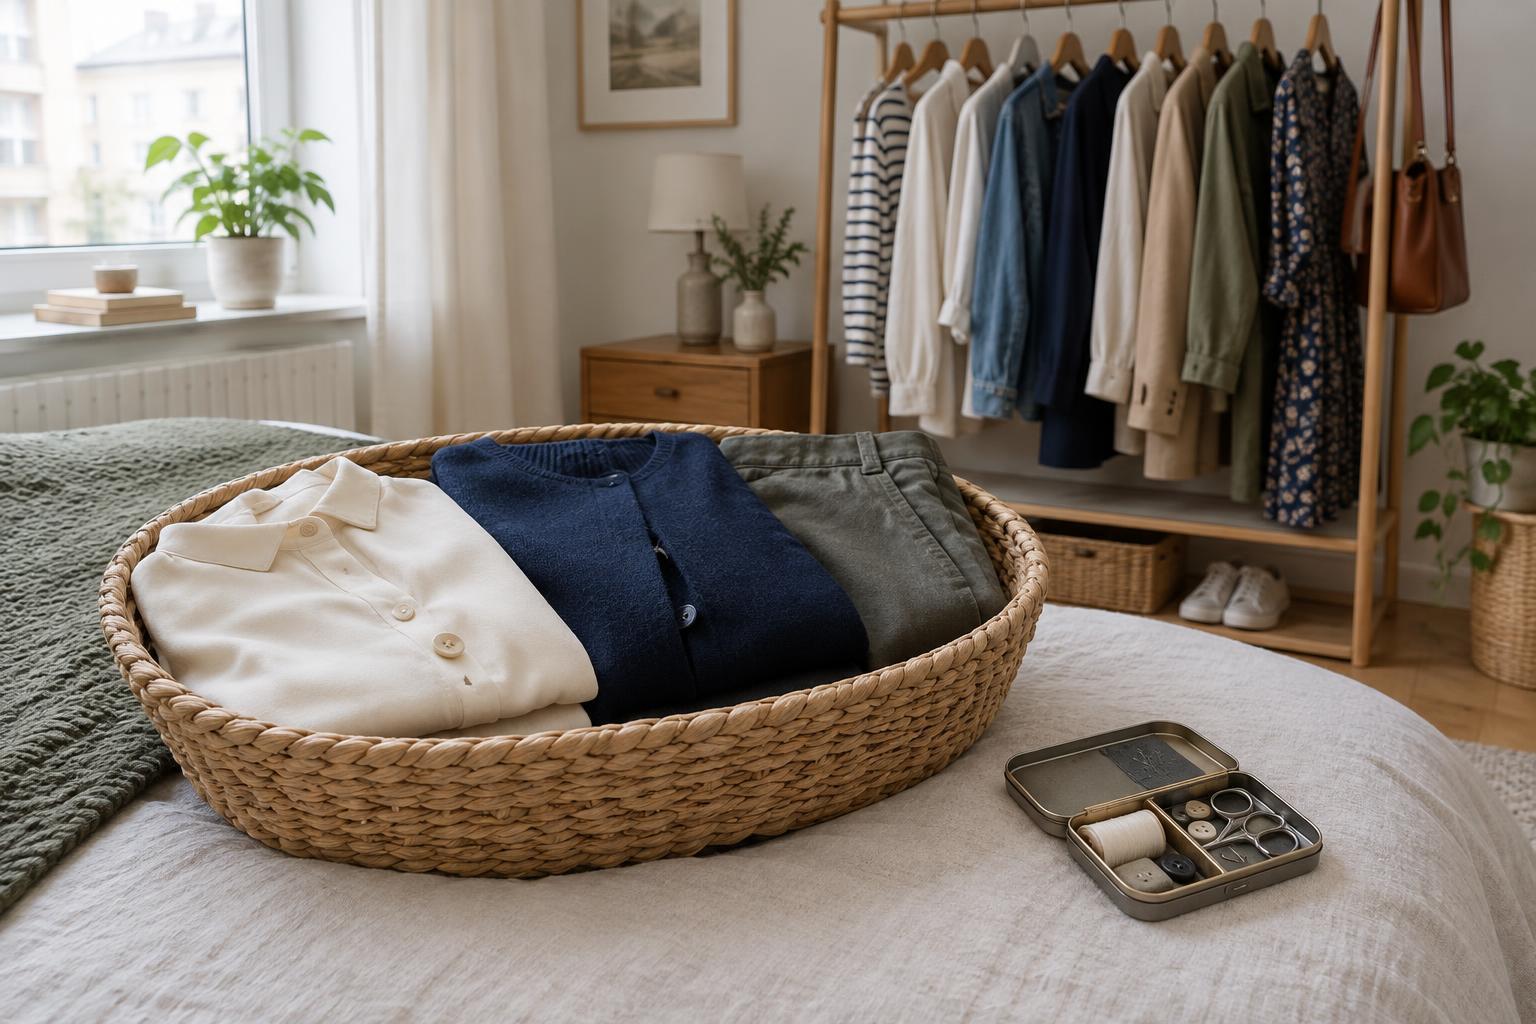
A repair queue is a designated place for clothes you intend to fix but should not wear yet. It prevents a shirt with a loose button from going back on its hanger and stops a split seam from becoming a surprise when you are getting dressed. Choose one small, visible container, such as a basket or fabric bag, and keep it near your laundry or wardrobe area. The goal is to make the right place easier to use than the nearest chair.
Only put clean, dry items in the queue. If a garment needs washing first, keep it with the laundry and move it to the repair container afterward. For delicate pieces, fold them loosely rather than squeezing them into an overfilled basket. A small container also gives the queue a useful limit: when it fills up, it is time to repair or reassess a few pieces before adding more.
Record the problem before you forget it
Attach a small note to each garment or keep a simple list beside the container. Write down the item, the fault and the next action: “black trousers, loose hem, stitch” is more useful than “fix trousers.” Note whether you need a matching button, thread or a professional alteration. If the damage is hard to spot, mark its location with a removable tag or a safety pin placed away from delicate fabric.
Separate quick fixes from repairs that need more time or equipment. A missing button may be a short home task if you have the spare; a broken zip or substantial fit change might be better assessed by a tailor. This is a planning distinction, not a test of sewing skill. The point is to avoid picking up an item during a spare ten minutes only to discover you cannot start.
Prioritise what you actually wear
Place the most useful pieces at the front of the queue. A workday jacket you wear regularly may deserve attention before an occasion dress with no plans attached to it. Think about the next few weeks, the ease of the repair and whether you already have a substitute. Prioritising this way keeps the queue connected to your real wardrobe rather than turning it into a collection of good intentions.
Be honest about items you no longer want to wear. Repairing a garment takes time or money, and fixing the damage will not necessarily change an uncomfortable fit or a style you have stopped choosing. If an item is not worth repairing for your wardrobe, move it out of the queue and decide how to dispose of or pass it on appropriately. A repair queue works best when every piece in it has a plausible path back into use.
Build a small routine around the queue
Set aside a recurring moment to check the container, perhaps when you put away clean laundry. Pick one manageable action: sew on a button, gather items for an alteration appointment or buy the thread you need. Keep basic supplies together so a simple repair does not begin with a search through drawers. You do not need to finish the whole queue in one session; steady progress makes it more useful.
Before returning a repaired item to rotation, check that the fix holds and that the garment is ready to wear. Try it on if the repair affects fit or movement. Remove any temporary tags and update your list. This final check creates a clear boundary between “needs attention” and “ready for the wardrobe,” so you can trust the clothes hanging there on a busy morning.
Keep the system light enough to maintain
A repair queue does not need colour-coded labels or a complicated inventory. One container, clear notes and a regular check-in are enough for most wardrobes. If you share storage space or have little room, a labelled fabric bag can do the job; just keep it separate from donations, seasonal storage and everyday laundry.
Review the queue whenever it starts to feel crowded. Ask whether each piece still fits your life and what specific step would move it forward. Some garments will return to your workday or weekend rotation, while others may not be worth fixing. Either outcome is more useful than repeatedly rediscovering damage at the moment you want to get dressed.